What have I done so far in Media??

To answer that question I will be just over looking my previous post on WordPress ill be going from my oldest posts to the newest ones.

At the start of the project I have looked into the influences of steampunk in day to day things. I found out that it is mainly used in gaming and CGI and it is easier to create something virtually then it is in real life however when it is created in real life it looks amazing, for example the image below.

Steampunk_Clock_XXII_by_Diarment

Since browsing the internet for ideas on what to steampunk I have came across this.

thegameboysteam

This immediately made me want to do something similar as i just fell in love with this design and I wanted to try and recreate something that will look something like that.

I have had a few failed ideas on Photoshop trying to work out how I would like it to look…… These are the monstrosities that I have came up.

Gameboy steampunk Gameboy steampunk

The Photoshop work was quite bad but once i have started to produce the game boy I had faith restored in me. One thing that has gotten on my nerves was waiting for a tiny screwdriver to start taking my game boy apart. When it arrived I have managed to start.

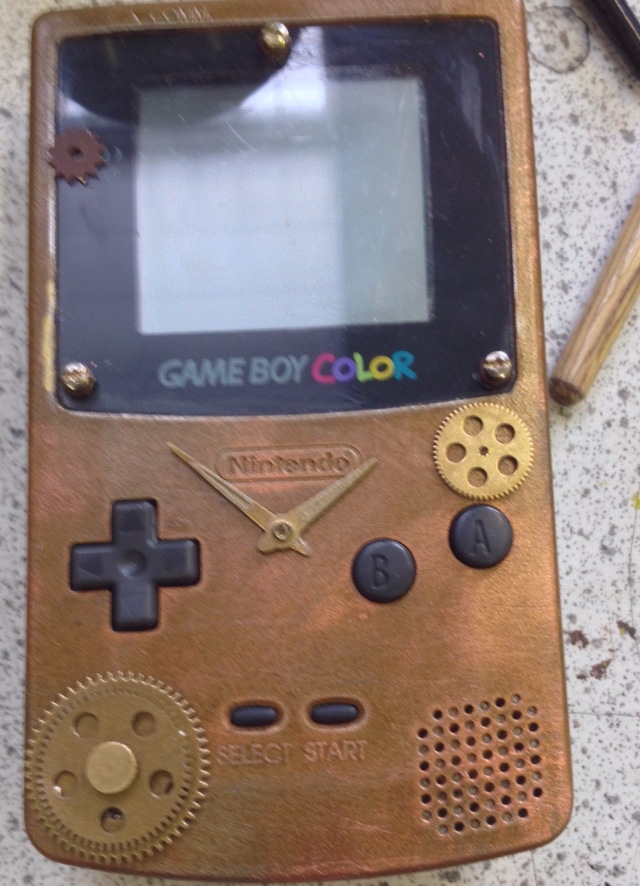
To keep this brief i have taken the game boy apart, sanded it down a pit, repainted it, cleaned it a bit, dry-brushed it and stuck bits on. Once i was near being finished i have lost one of the buttons for the game boy so i was set back quite a bit…………….. However the button was simply hidden in a box where i used to store it in the first place.

Below are images of my game boy complete.

IMG_8010[1]IMG_8004[1]

I was so happy with the outcome as it looks amazing and it actually looks like a product that Nintendo would release. And because of that i have came up with another idea that i will make a infomercial for this Game boy as we had to do green screen work so i decided to extend it a bit.

Currently i am still doing the After Effects work as i need to adjust a part in it frame by frame for 3 clips which so far i have done about a third for the first clip, below is a screen shot of what im up to so far.

Screen shot of after effect

What i’m doing in after effects

I have spent quite some time on after effects trying to make the tracking work with my footage.

I have had a problem where my footage will end up in the wrong place and rotated in a wrong place.

In the image below shows me trying to sort out the image by hand rather then by having after effects do it for me.

Screen shot of after effect

The blue squares in the middle of the image are the points of which the clip will move too and i need to adjust them manually.

Haven’t uploaded in some time…

I haven’t posted in a long time as i was trying to work out how to use after effects and all i have got so far is this.

wordpress stuffs

So far all i have done with this project was trying to get all the clips in and making sure that they are all in time with each other and after doing this ill be planning to make the green screen for this but ill be having to use a slightly different way to then using a green background.

Adding on the parts.

The time has come for me to stick on the little cogs and other things like that onto my Gameboy.

This was the part I was dreading the most as it was going to be the one that seemed the most fiddly as it involved using the glue gun and sticking on small parts, also a thing that worried me was that if I stuck on the parts and I wanted to take them off I’ll rip of the paint.IMG_3797.JPG

Sadly some of the paint that was originally was on the Gameboy I have ruined so ill need to repaint it to make it look like it did before.

Dry Brushing

I’m ready to start dry brushing my Gameboy.

I’ll be using Bronze coloured paint. In order to use for me to be able to do dry brushing ill need to get excess paint of the brush then lightly putting it on.

I have found out how.

Today in leasson my teacher showed us a technique which is called dry brushing and it is when you get the minimal amount of paint left on the brush and then u paint the object, it make the gameboy look slightly more like it is actually made out of metal due to the slightly bronze bits on it. I’m planning to get as much of the gameboy covered in it but not too much as it will drown the gold paint.

After letting the paint dry I’ll put a clear layer of paint to protect it and after that I’ll begin sticking on the cogs and other things.

Next came the painting stage..

This is the one thing I dreaded most about this project. Painting.

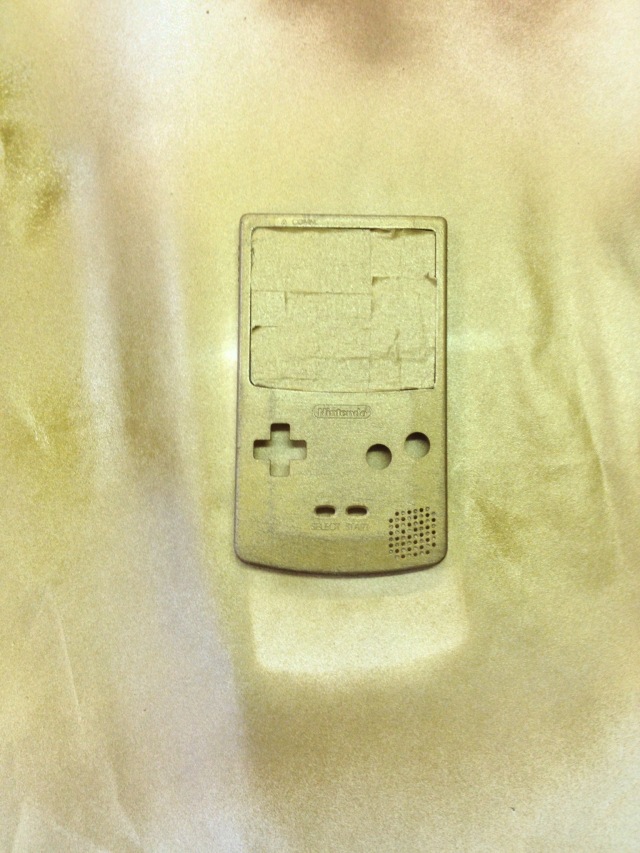
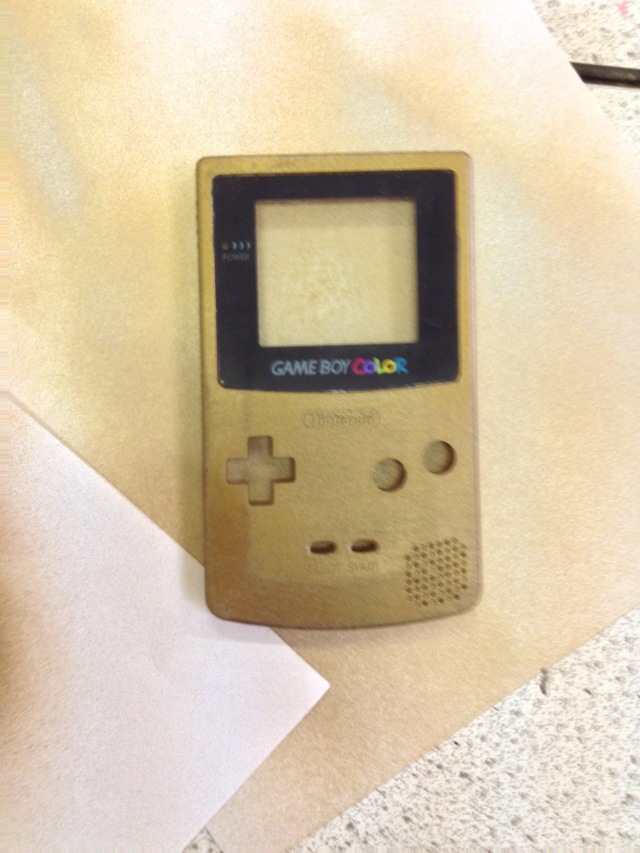
I have started with sanding down the gameboy a bit, the reason for this being is that I needed to scratch it a bit for 2 reasons. one because I needed to make the paint stick more and secondly to give it a destroyed kind of look.

When i got onto painting I have covered the main bits with masking tape, so i cover the screen at the front and the stickers at the back of the gameboy, I wanted to keep these in the best condition I can as it will give them a more realistic look.

Next i’ll be trying to make the gameboy look more metallic, but in this precise moment in time i don’t know how so I will be browsing the internet to try and find a way how to do it.

IMG_3758-0.JPGIMG_3773.JPGIMG_3774.JPG

The steampunking of the gameboy begins.

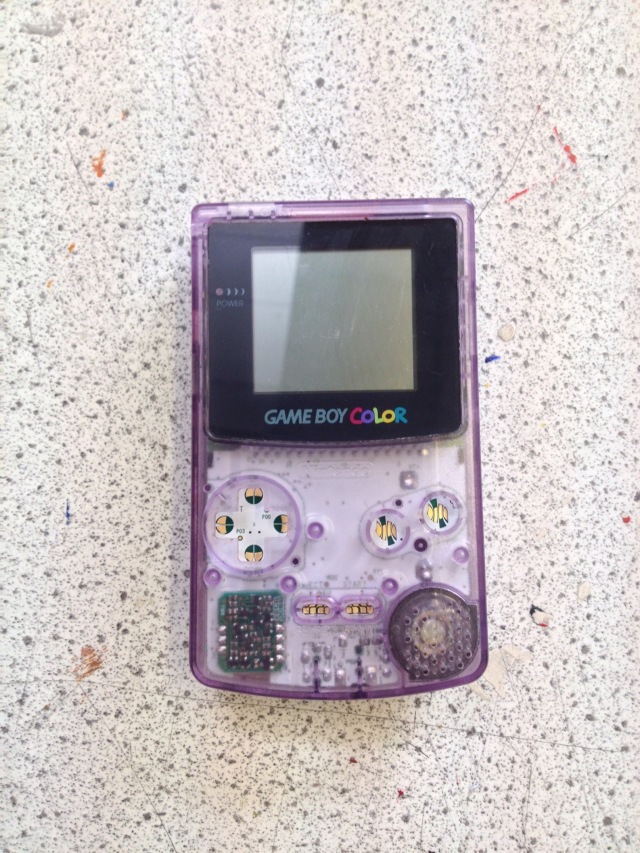
The time has finally come for me to start to steampunk my gameboy. I have been waiting quite a long time for the screw driver to arrive and now when i finally got it i am abel to take my game boy apart and this is how it look before and after having the shell of it taken off. I have then later proceeded to take the game boy apart even more and taking the buttons, screen, mother board off and other minor bits and pieces so that it can be ready to be painted.

IMG_3760.JPG

IMG_3762.JPGIMG_3761.JPG

IMG_3763.JPG